
posts in
MoreThanCakes
Snowskin Mooncake Recipe and Tutorial (冰皮月饼)
August 29, 2014
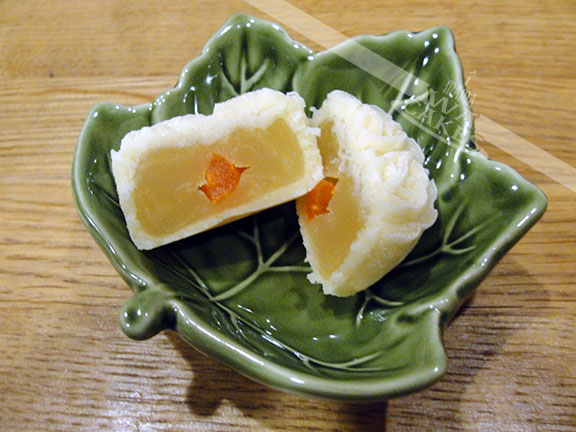
|
| Mango with mung bean paste and dried mango center |
With the Chinese Mid-Autumn Festival right around the corner, I wanted to share this tutorial on how to make your own Snowskin Mooncakes. Ever since I moved into my own home, I made it a priority to buy mooncakes for my family, but they can be pricey. Last year, I decided to try making these after finding recipes online. I then tweaked it to my preference for a softer and smoother skin, with less sweetness. Usually the fillings are sweet enough without adding more to the skin. These are not baked like the traditional kind, and are tons of fun to make. They are easy to make if you can find the right ingredients, but can be time consuming. The hardest part is to find the Kou Fen, fried glutinous rice four. If this ingredient is not readily available, you can make your own and the instructions are below. Oh! and measure everything on a kitchen scale... every gram makes a difference!
Things you will need:
Mooncake mold ( Jello molds are a good substitute )
Kitchen Scale
90g fried glutinous rice flour (Kou Fen)
10g wheat starch (Tang Mien Fen) (This can be left out if someone is allergic to wheat, just add 10g to the rice flour needed)
30g shortening
30g powder sugar
130g water, juice, tea, coffee, or any other flavoring liquid coloring (optional)
30g shortening
30g powder sugar
130g water, juice, tea, coffee, or any other flavoring liquid coloring (optional)
Paste of your choice for filling, such as lotus seed, red bean, taro, sesame, or chestnut.
Extra fried glutinous rice flour for dusting.
1. Sift together the glutinous rice flour, wheat starch and icing sugar together. Use a soon to break up clumps.
2. Rub the shortening into the flour mixture until it is a crumbly texture.
3. Combine water or liquid
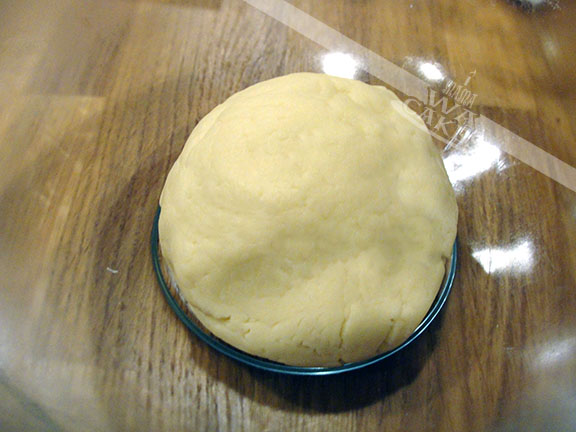
(with coloring, if using), and add to the flour. Mix until a soft dough
forms and that all dry and wet ingredients are uniformly mixed.
4. Cover with plastic wrap and set to rest for 10 mins.
5.
In the meantime, portion out balls of the filling depending on the size
of your molds a in the ratio 1/1. If you are using a 30g mold, ration
out 15g of filling to 15g of skin dough.
6. Once dough is rested, weight out the
proper grams and roll into balls. Place on clean flat surface or pastry
mat and flatten with hands until a disc is formed, about 1/8" to 3/16"
in thickness.
7. Wrap dough around filling and pinch
close, dust with glutinous rice flour and roll into a ball. You may
also dust the inside of the mold to prevent the mooncake from sticking,
but make sure you shake out the extra flour. Place mooncake ball in mold
and press onto flat surface. Knock it out if using traditional molds
or plunge out if using the modern plastic molds.
8. Place in an airtight container and chill before enjoying! Please eat within 5 days for freshness!
The end quantity highly depends on your mold. I can make 16 mini 30g mooncakes from this recipe.
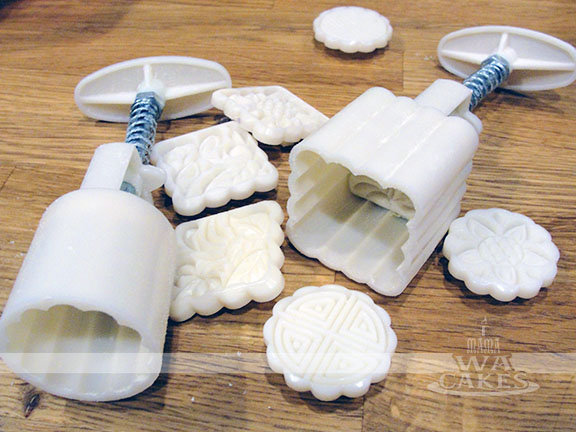 |
| Modern Mooncake Molds |
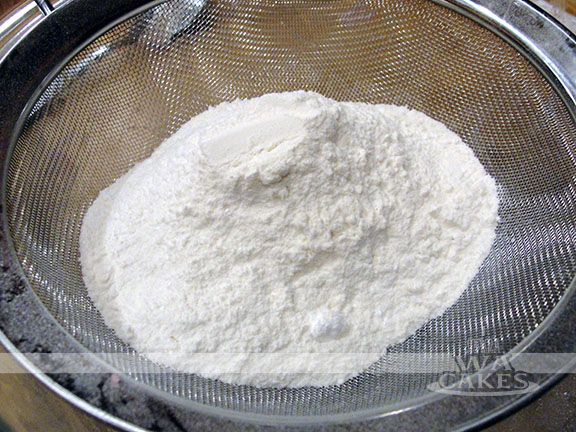 |
| Kou Fen, Wheat Starch, and powder sugar |
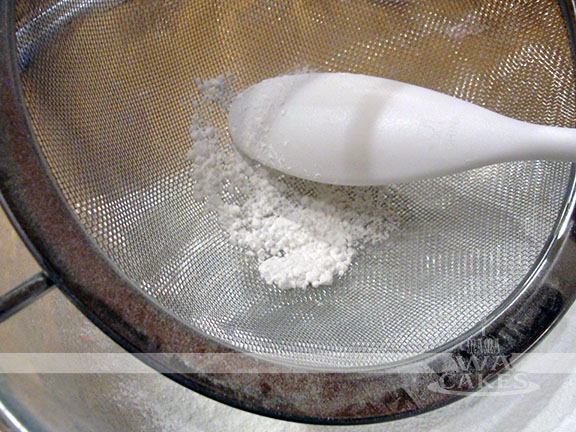 |
| Use a spoon to break up clumps when sifting |
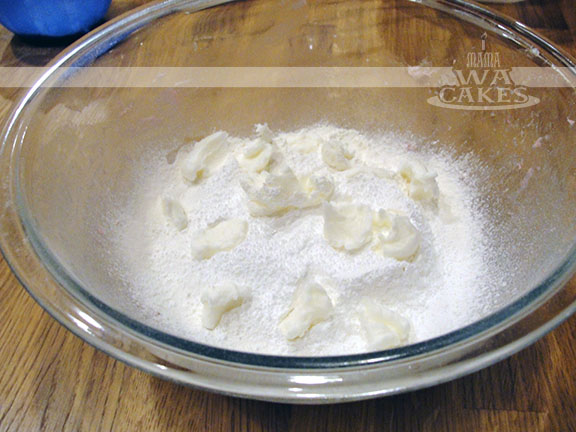 |
| Shortening broken in pieces |
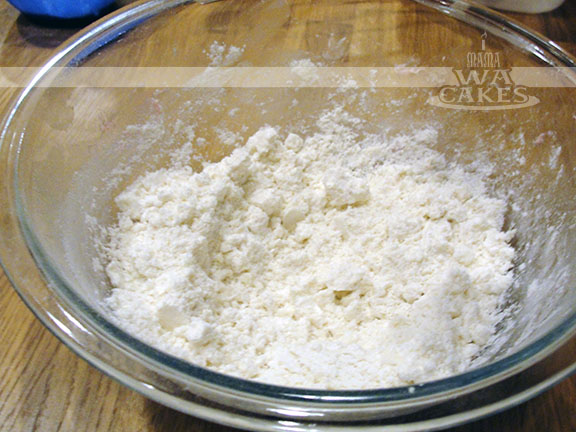 |
| Rub shortening into dry ingredients |
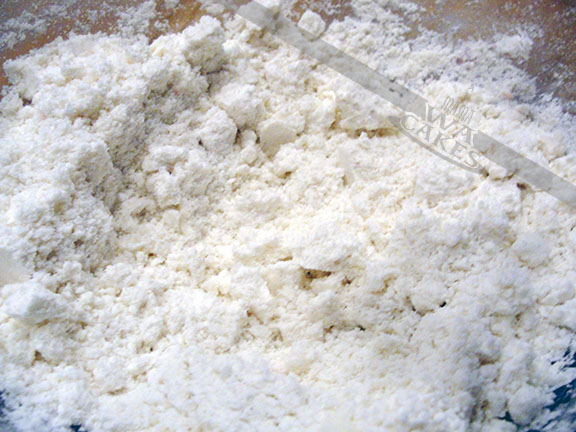 |
| Correct texture will be crumbly |
 |
| Add liquid and mix thoroughly |
 |
| Combine until a smooth soft dough is formed |
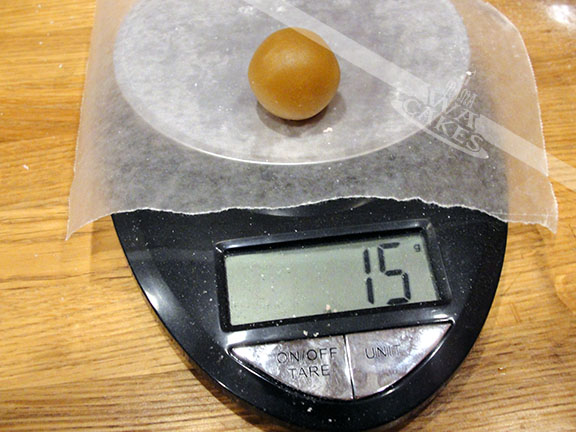 |
| Measure out filling per ratio for mold size |
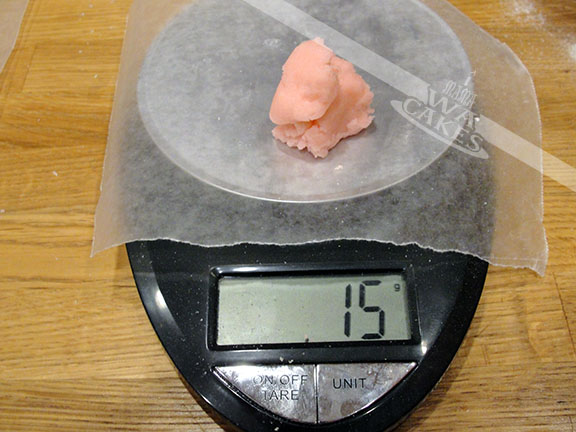 |
| Measure out skin dough per ratio for mold size |
 |
| Flatten ball of dough into a disc |
 |
| Place filling in center of disc |
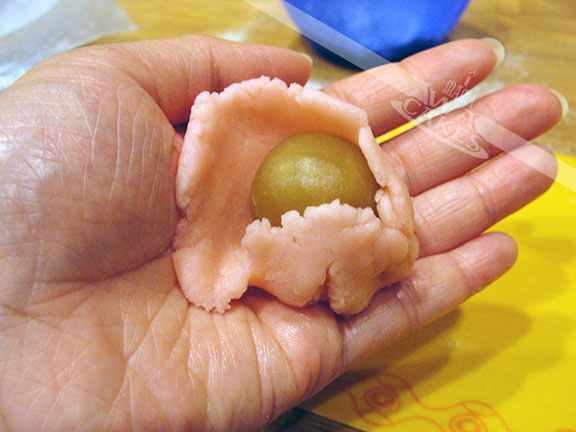 |
| Wrap dough around filling |
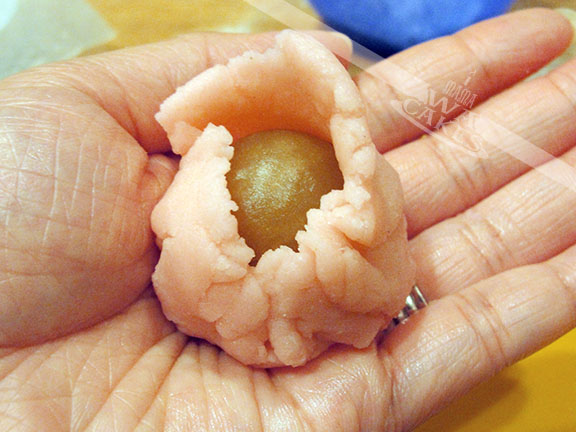 |
| Pinch close the opening |
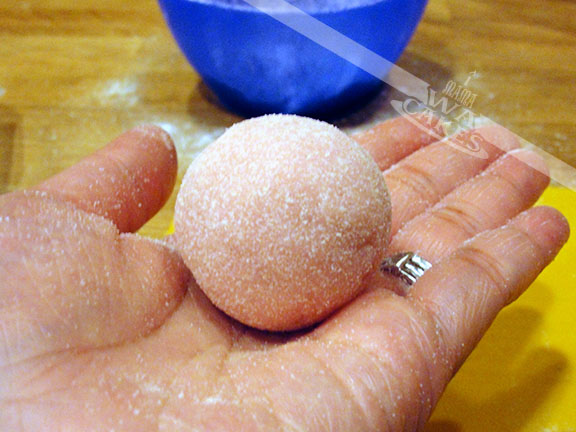 |
| Dust with extra Kou Fen and roll into a ball |
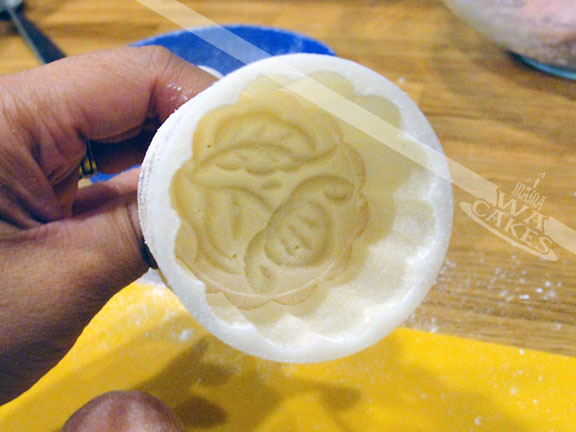 |
| Dust interior of mold and shake out excess |
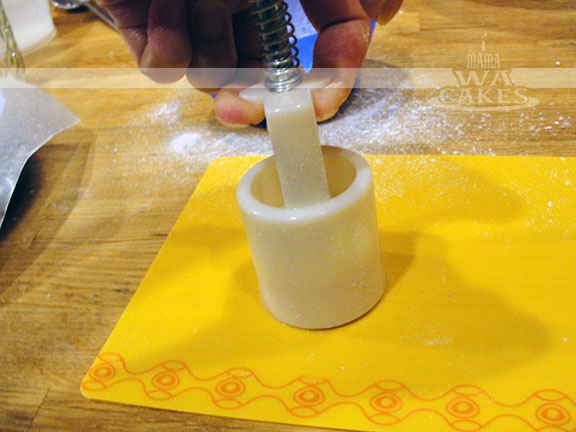 |
| Place mooncake ball into mold |
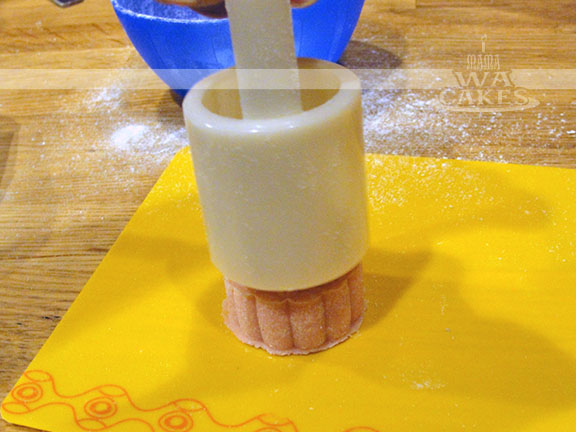 |
| Press down on plunger to release |
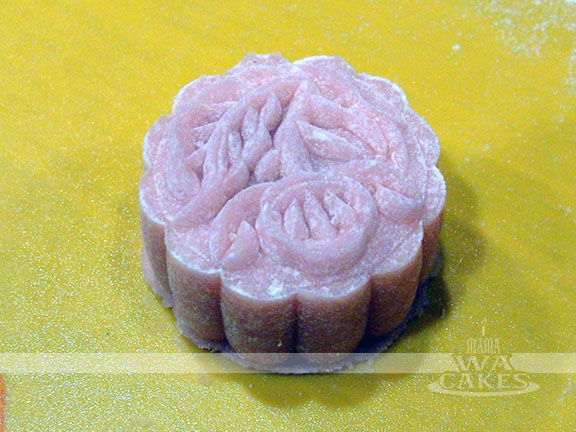 |
| Peach Yogurt with Lotus paste filling |
 |
| Coffee with Lotus paste filling |
Mexican Concha (Shell) Recipe
September 13, 2013
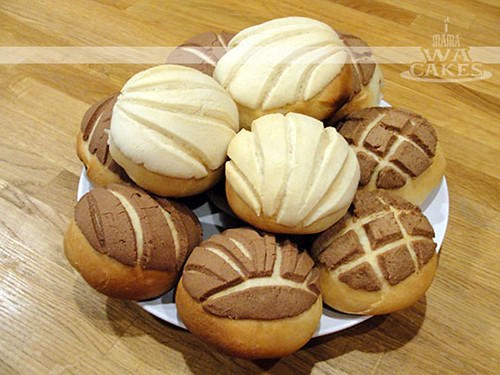
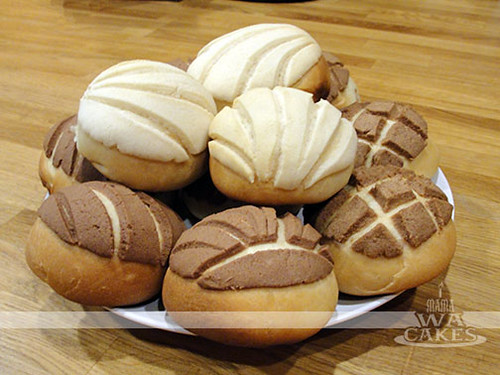
Whenever I walk into a panaderia, the warm inviting smell of cinnamon and sugar always lead me to these buns. They are warm and soft, pillowy and comforting. Yes, comforting. When the sugary topping dissolves on the taste buds, and instantly a smile comes across my face. And with that smile, I decided to try my hand at these delicious shells. Baking bread is definitely different from baking cakes... you have to let it grow ( or rise in this case ) and knead it with love. I was so proud of my first batch of Conchas that I decided to share this with you. Please let me know what you think. Enjoy!
Ingredients
- 3 teaspoons active dry yeast
- 1/2 cup warm water ( 105 degrees F to 115 degrees F or 40 to 46 celsius)
- 1/2 cup lukewarm milk ( scalded, then cooled)
- 1/3 cup granulated sugar
- 1/3 cup butter, softened
- 1 teaspoon salt
- 1 egg
- 3 1/2-4 cups all-purpose flour
- 1/3 cup granulated sugar
- 1/4 cup butter or 1/4 cup margarine
- 1/2 cup all-purpose flour
- 1 teaspoon ground cinnamon
- 1/4 teaspoon vanilla extract
- 1 1/2 teaspoons orange zest
Flavored Topping Dough
Directions
1. Dissolve yeast in warm water in large bowl.
2. Stir in milk, sugar, butter, salt, egg and 2 cups of the flour.
3. Mix until smooth.
4. Stir in enough remaining flour to make dough easy to handle.
5. Turn onto a lightly floured surface.
6. Knead until smooth and elastic, about 5 minutes.
7. Place in a large greased bowl, then turn greased side up.
8. Cover and let rise in a warm place until double, about 1 1/2 hours. (Tip: The longer you let it rise, the soft the bread.) While this is rising, prepare Flavored Topping Dough.
9. The dough is ready if it leaves an indentation when touched.
2. Stir in milk, sugar, butter, salt, egg and 2 cups of the flour.
3. Mix until smooth.
4. Stir in enough remaining flour to make dough easy to handle.
5. Turn onto a lightly floured surface.
6. Knead until smooth and elastic, about 5 minutes.
7. Place in a large greased bowl, then turn greased side up.
8. Cover and let rise in a warm place until double, about 1 1/2 hours. (Tip: The longer you let it rise, the soft the bread.) While this is rising, prepare Flavored Topping Dough.
9. The dough is ready if it leaves an indentation when touched.
10. Punch dough down; divide into 12 equal pieces. Shape each piece into a ball; place on greased cookie sheet.
11. Divide the three flavored dough into 4 equal pieces.
12. Pat each piece into a 3-inch circle. Place 1 circle of Topping Dough on each ball of bread dough, shaping it down over the ball.
13. Make 5 or 6 cuts across the topping, using a table knife, to form a shell pattern.
14. Cover and let rise until double — about 40 minutes.
11. Divide the three flavored dough into 4 equal pieces.
12. Pat each piece into a 3-inch circle. Place 1 circle of Topping Dough on each ball of bread dough, shaping it down over the ball.
13. Make 5 or 6 cuts across the topping, using a table knife, to form a shell pattern.
14. Cover and let rise until double — about 40 minutes.
Heat oven to 375 degrees F (190 celsius). Bake buns until golden brown, about 20 minutes.
Flavored Topping Dough
1. Beat sugar and margarine until light and fluffy.
2. Stir in flour until mixture is the consistency of thick paste.
3. Divide into 3 equal parts.
4. Stir cinnamon into one part, vanilla extract into one part and orange peel into one part.
2. Stir in flour until mixture is the consistency of thick paste.
3. Divide into 3 equal parts.
4. Stir cinnamon into one part, vanilla extract into one part and orange peel into one part.
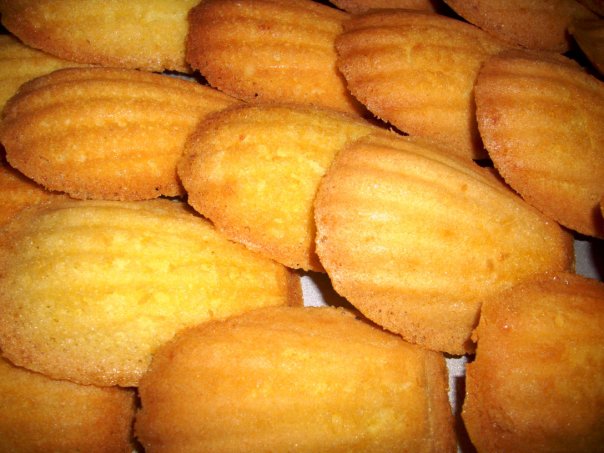
Madelienes...oh so lovely French cookies
May 19, 2010
Subscribe to:
Posts (Atom)


Social Icons